
Firebaseの初期設定は終わっている前提です
* AppleDeveloperの登録がされていないと実装できないのでお気をつけください。
下準備
AppleDeveloperで証明書を発行する
Certificate項目で、Apple Push Serviceタイプで新規の証明書を発行する

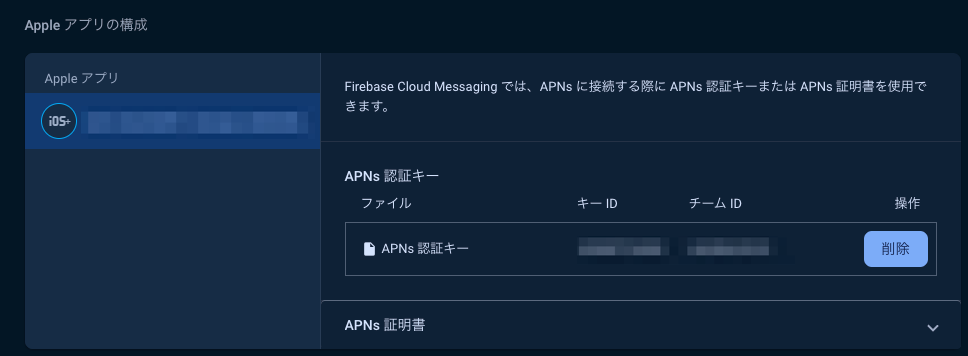
ダウンロードした証明書をFirebaseに登録する
プロジェクトの概要 → プロジェクトの設定 → Cloud Messagingでダウンロードした証明書をインポートする
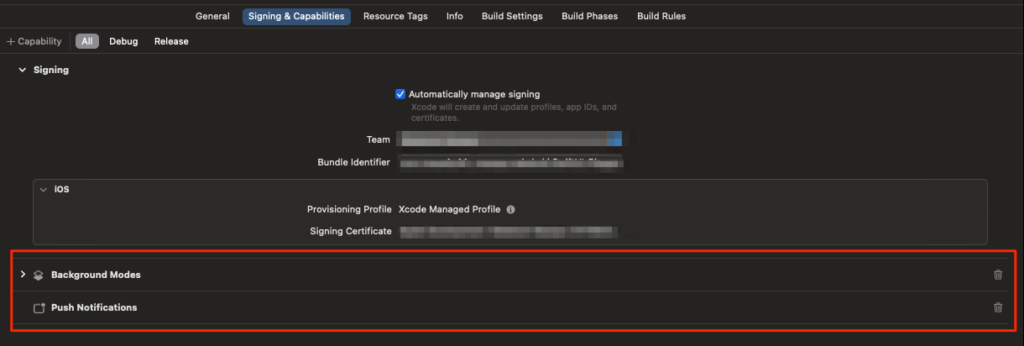
Push NotificationsとBackground Modesを有効にする
Signing & Capabilities → + Capability からPush NotificationsとBackground Modesを追加する
実装
AppDelegate.swift
import Foundation
import SwiftUI
import Firebase

final class AppDelegate: NSObject, UIApplicationDelegate, UNUserNotificationCenterDelegate, MessagingDelegate {
    func application(_: UIApplication, configurationForConnecting connectingSceneSession: UISceneSession, options _: UIScene.ConnectionOptions) -> UISceneConfiguration {
        let config = UISceneConfiguration(name: nil, sessionRole: connectingSceneSession.role)
        config.delegateClass = SceneDelegate.self
        return config
    }

    func application(_ application: UIApplication, didFinishLaunchingWithOptions _: [UIApplication.LaunchOptionsKey: Any]? = nil) -> Bool {
        FirebaseApp.configure()
        UNUserNotificationCenter.current().delegate = self
        // 通知の権限をリクエスト
        UNUserNotificationCenter.current().requestAuthorization(options: [.alert, .sound, .badge]) { granted, error in
            if let error = error {
                print("Error requesting notifications authorization: \(error)")
            }
            // メインスレッドでリモート通知を登録
            DispatchQueue.main.async {
                application.registerForRemoteNotifications()
            }
        }
        Messaging.messaging().delegate = self
        return true
    }

    // デバイストークンが正常に登録された場合に呼ばれるメソッド
    func application(_ application: UIApplication, didRegisterForRemoteNotificationsWithDeviceToken deviceToken: Data) {
        // APNsトークンをFirebase Messagingに渡す
        Messaging.messaging().apnsToken = deviceToken
    }

    // Firebase MessagingでFCMトークンを受信した際に呼ばれるメソッド
    func messaging(_ messaging: Messaging, didReceiveRegistrationToken fcmToken: String?) {
        if let token = fcmToken {
            print("FCM Token: \(token)")
        }
    }

    // アプリがフォアグラウンドにいる間に通知を受信した際に呼ばれるメソッド
    func userNotificationCenter(_ center: UNUserNotificationCenter, willPresent notification: UNNotification, withCompletionHandler completionHandler: @escaping (UNNotificationPresentationOptions) -> Void) {
        completionHandler([.banner, .sound, .badge])
    }

    // 通知をタップした際に呼ばれるメソッド
    func userNotificationCenter(_ center: UNUserNotificationCenter, didReceive response: UNNotificationResponse, withCompletionHandler completionHandler: @escaping () -> Void) {
        completionHandler()
    }
}
これで設定は完了です、次に実際に通知を飛ばしてみましょう。
Firebaseコンソールから通知を飛ばす
Firebase メッセージングのオンボーディング
Firebase Notification メッセージを選択

通知内容を決める

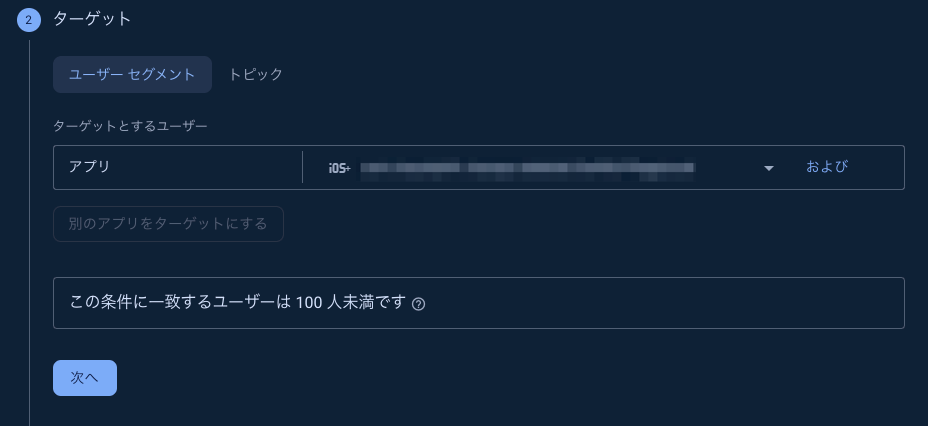
ターゲットを設定
スケジュール設定
現在でヨシ、次のキーイベントは無視でヨシ。

その他オプション
わかりやすく通知音、バッジ、バッジ数はつけておく、有効期限はデフォルトで大丈夫です。

確認、公開
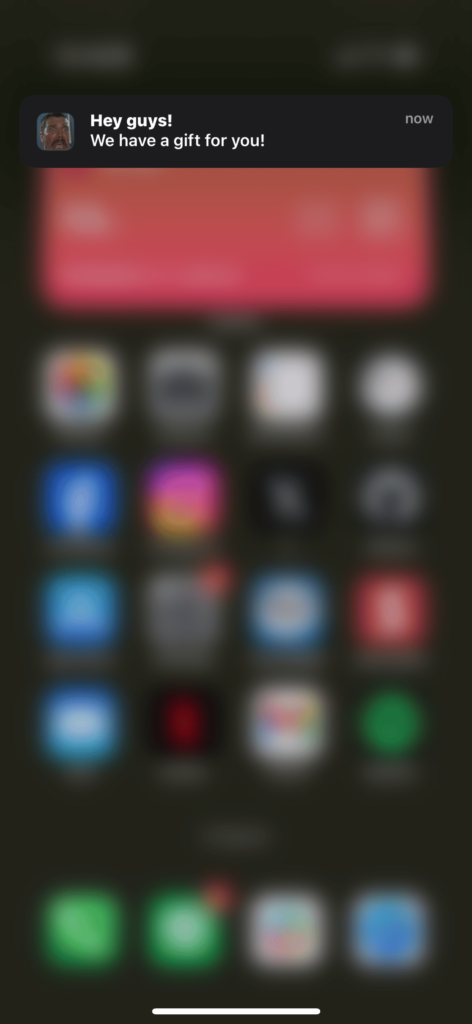
公開を押す、2 ~ 3分後くらいに端末に通知が飛んできます。

以上です、通知の実装もFirebaseを使えば簡単ですね。
