Creating a List in SwiftUI
To create a List view in SwiftUI, you need to wrap your data in a List view and provide a row view for each element in the list. Let’s take a simple example of displaying a list of names:
struct ContentView: View {
    let names = ["John", "Jane", "Bob", "Alice"]

    var body: some View {
        List(names, id: \.self) { name in
            Text(name)
        }
    }
}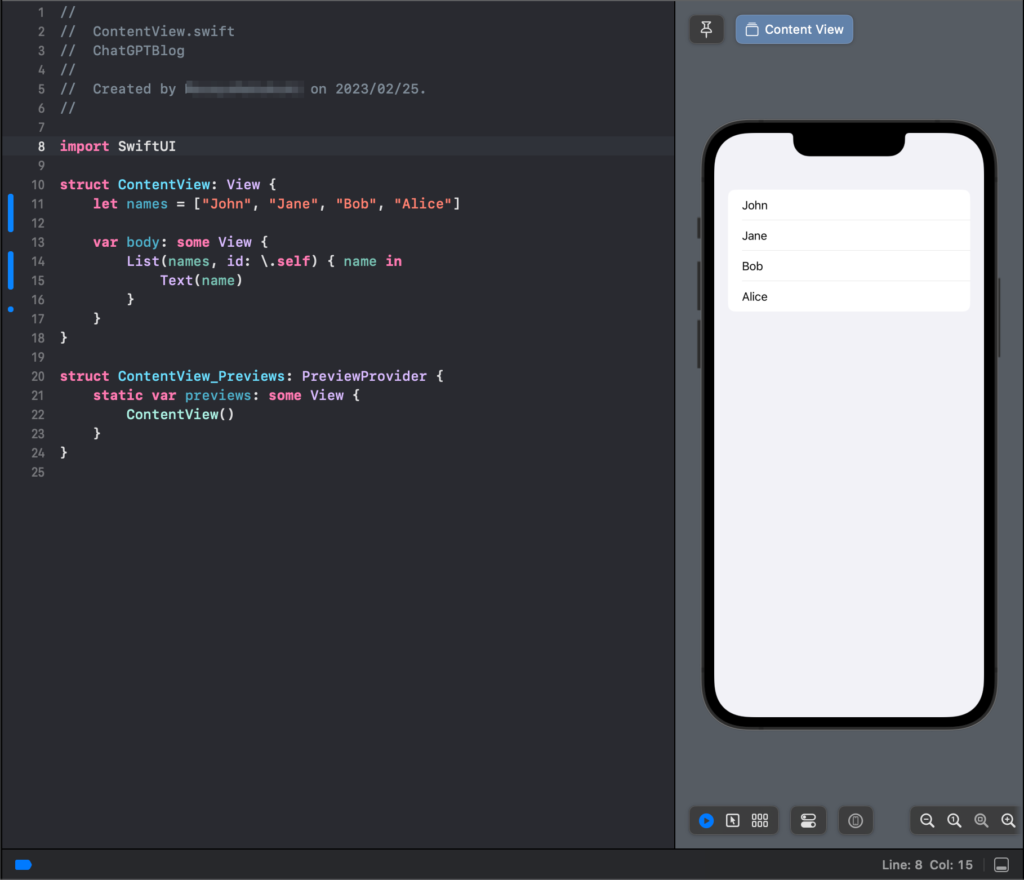
In the above example, we are creating a List view with the names array as the data source. We are also providing the id parameter to identify each element in the list. Finally, we are displaying a Text view for each element in the list.
Handling User Interaction
SwiftUI provides a variety of ways to handle user interaction with a List view. For example, you can add a tap gesture recognizer to each row to handle tap events:
struct ContentView: View {
    let names = ["John", "Jane", "Bob", "Alice"]

    var body: some View {
        List(names, id: \.self) { name in
            Text(name)
                .onTapGesture {
                    print("Tapped \(name)")
                }
        }
    }
}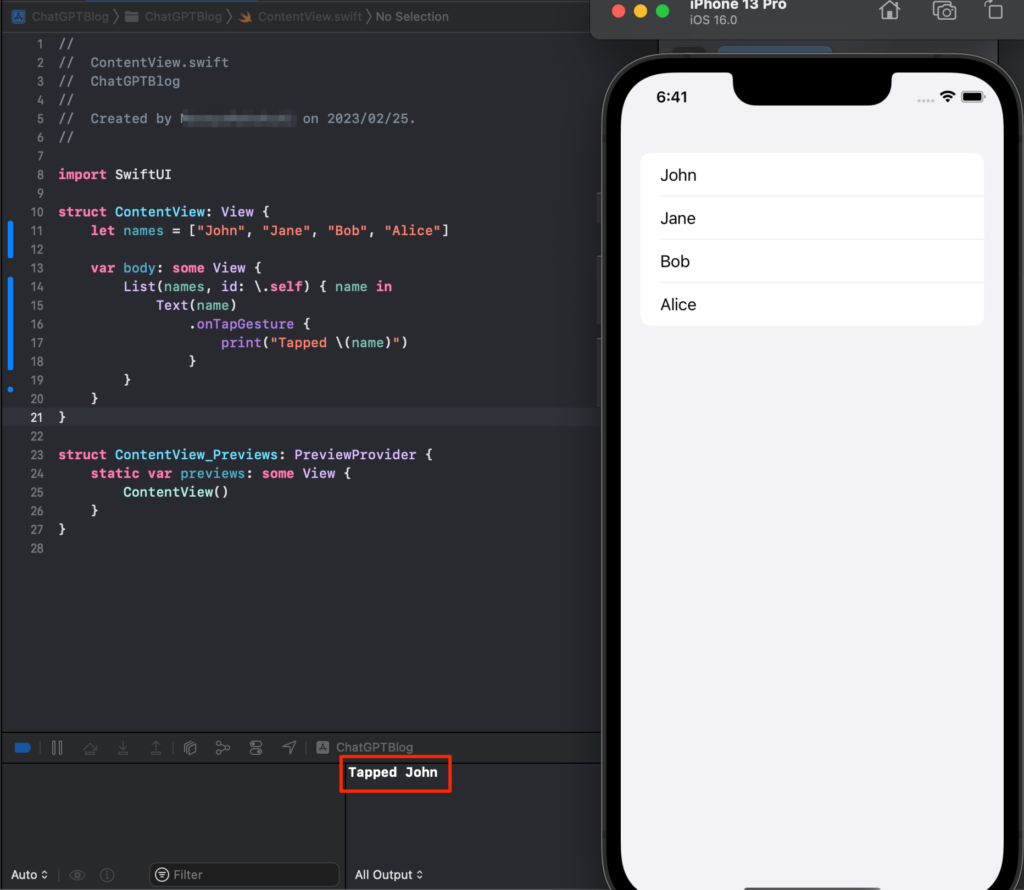
In the above example, we are adding an onTapGesture modifier to the Text view, which will print the name of the tapped row.
Customizing the List View
SwiftUI provides a variety of ways to customize the appearance of a List view. For example, you can change the font and color of the text in each row:
struct ContentView: View {
    let names = ["John", "Jane", "Bob", "Alice"]

    var body: some View {
        List(names, id: \.self) { name in
            Text(name)
                .font(.headline)
                .foregroundColor(.blue)
        }
    }
}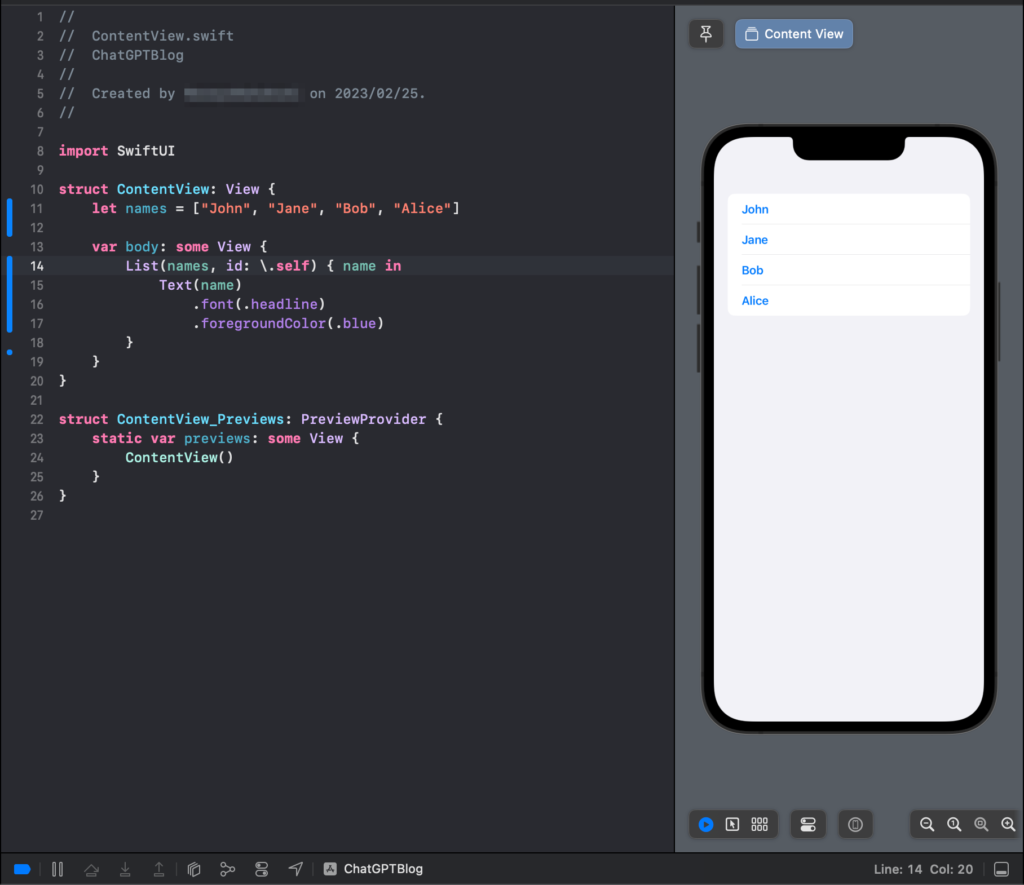
In the above example, we are setting the font to .headline and the text color to blue.
You can also add images and other views to each row:
struct ContentView: View {
    let people = [
        Person(name: "John", image: "person1"),
        Person(name: "Jane", image: "person2"),
        Person(name: "Bob", image: "person3"),
        Person(name: "Alice", image: "person4")
    ]

    var body: some View {
        List(people, id: \.self) { person in
            HStack {
                Image(person.image)
                    .resizable()
                    .aspectRatio(contentMode: .fit)
                    .frame(width: 50, height: 50)
                    .clipShape(Circle())

                Text(person.name)
            }
        }
    }
}

struct Person: Identifiable {
    let id = UUID()
    let name: String
    let image: String
}
In the above example, we are creating a List view with an array of Person objects. We are using an HStack view to display an image and a text view for each row. We are also using the Identifiable protocol to each row unique, and the Image view to display an image associated with each person.
Adding Section Headers and Footers
You can also add section headers and footers to a List view in SwiftUI. Here’s an example:
struct ContentView: View {
    let people = [
        Person(name: "John", image: "person1"),
        Person(name: "Jane", image: "person2"),
        Person(name: "Bob", image: "person3"),
        Person(name: "Alice", image: "person4")
    ]

    var body: some View {
        List {
            Section(header: Text("Employees"), footer: Text("End of List")) {
                ForEach(people) { person in
                    HStack {
                        Image(person.image)
                            .resizable()
                            .aspectRatio(contentMode: .fit)
                            .frame(width: 50, height: 50)
                            .clipShape(Circle())

                        Text(person.name)
                    }
                }
            }
        }
    }
}
In the above example, we are creating a List view with a single section that has a header and a footer. We are using the Section view to wrap our rows, and the header and footer parameters to add text to the section header and footer.
Conclusion
In conclusion, the List view in SwiftUI provides a powerful and flexible way to display collections of data in your app. You can customize the appearance of each row, handle user interaction, and add section headers and footers. With a little bit of practice, you can use the List view to build beautiful and functional user interfaces in your SwiftUI app.
